

So, you’ve got your fresh sticker ready and you’re eager to get it on the car—but something just doesn’t sit right. Maybe it’s lifting at the corners. Or bubbling. Or worse, already peeling off like it’s changed its mind. Sound familiar? That’s because these little missteps are surprisingly common.
Car enthusiasts like you usually prefer the DIY route, and rightly so—it’s part of the fun. But skipping a few prep steps, rushing the positioning, or just picking the wrong day to do it can lead to more frustration than flair.
This guide walks you through five of the most typical problems people face when applying car stickers—so your next application looks cleaner, lasts longer, and actually sticks the way it’s meant to.
1. Not Cleaning the Surface Properly
It might sound obvious, but a lot of sticker fails start before the sticker even leaves its backing paper. If your surface isn’t completely clean, you're pretty much asking for trouble.
Here’s what often goes wrong:
Dust, wax, or leftover polish gets in the way of proper adhesion.
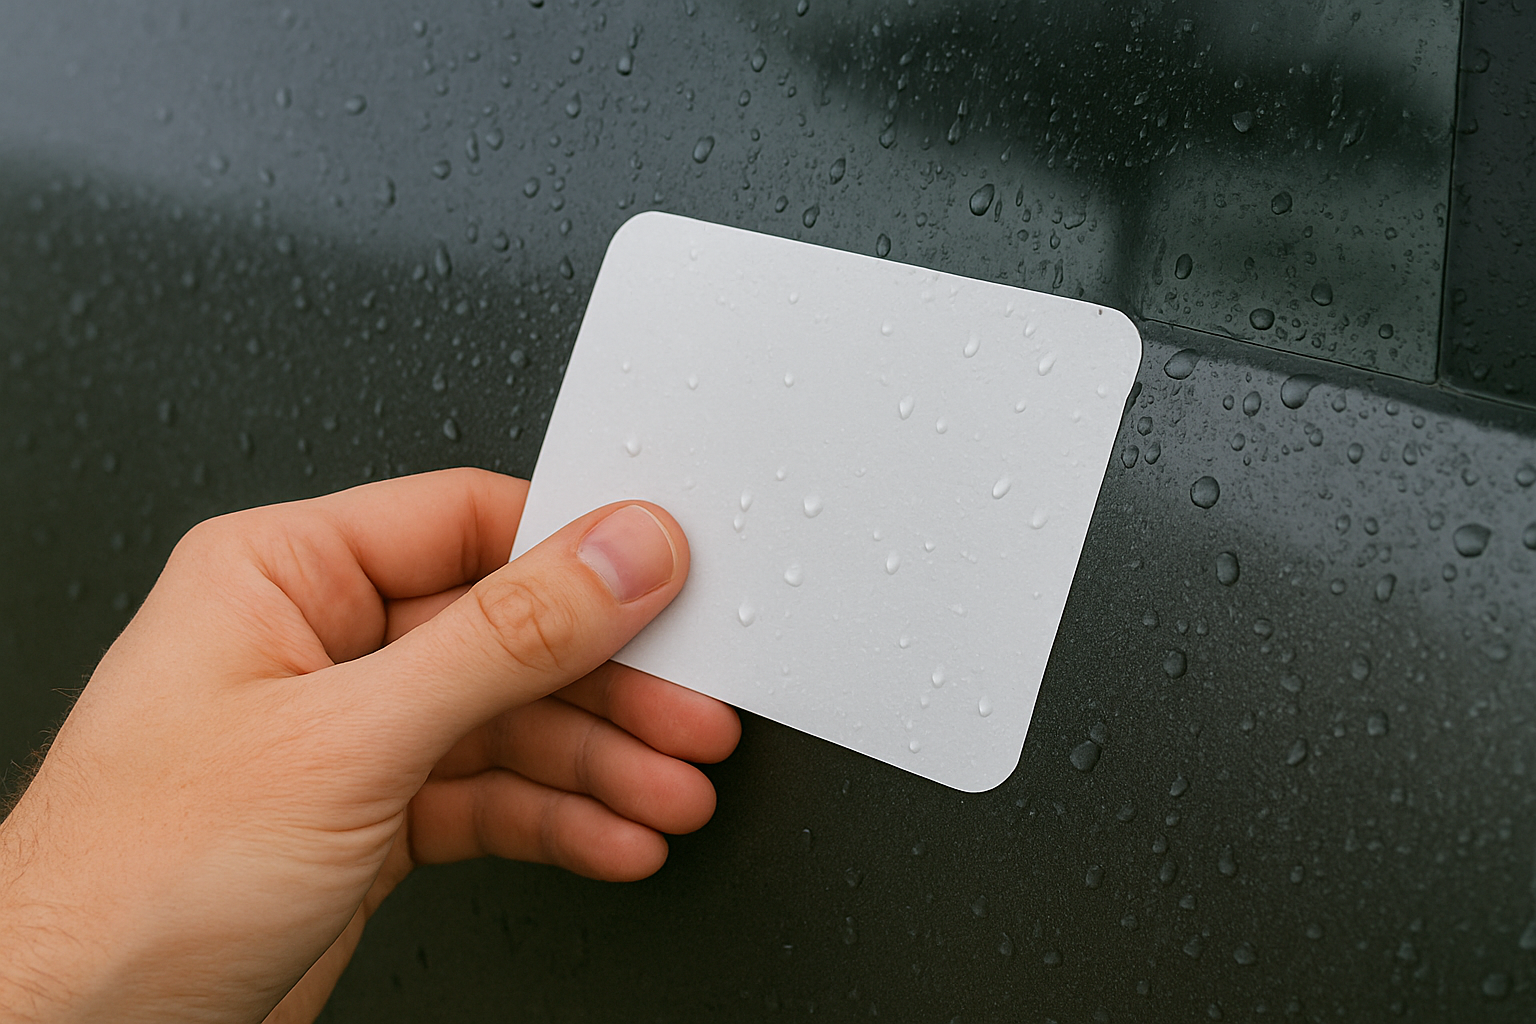
Rain repellent products leave invisible residues that mess with the stickiness.
Using standard household cleaners—especially oily or scented ones—can leave a film behind.
The better way? Use isopropyl alcohol or an alcohol-based surface cleaner. It cuts through grease, dries quickly, and doesn’t leave anything behind. Pay extra attention to grooves or textured areas where grime might hide.
And here’s a big one: even if your car looks clean, don’t trust it. Micro-particles, road spray, or old wax can ruin a good application in minutes. So take five extra minutes, wipe it down properly, and give it time to dry fully before moving on.
That one step alone could be the difference between a sticker that lasts months and one that lifts after a single wash.
2. Misalignment During Application
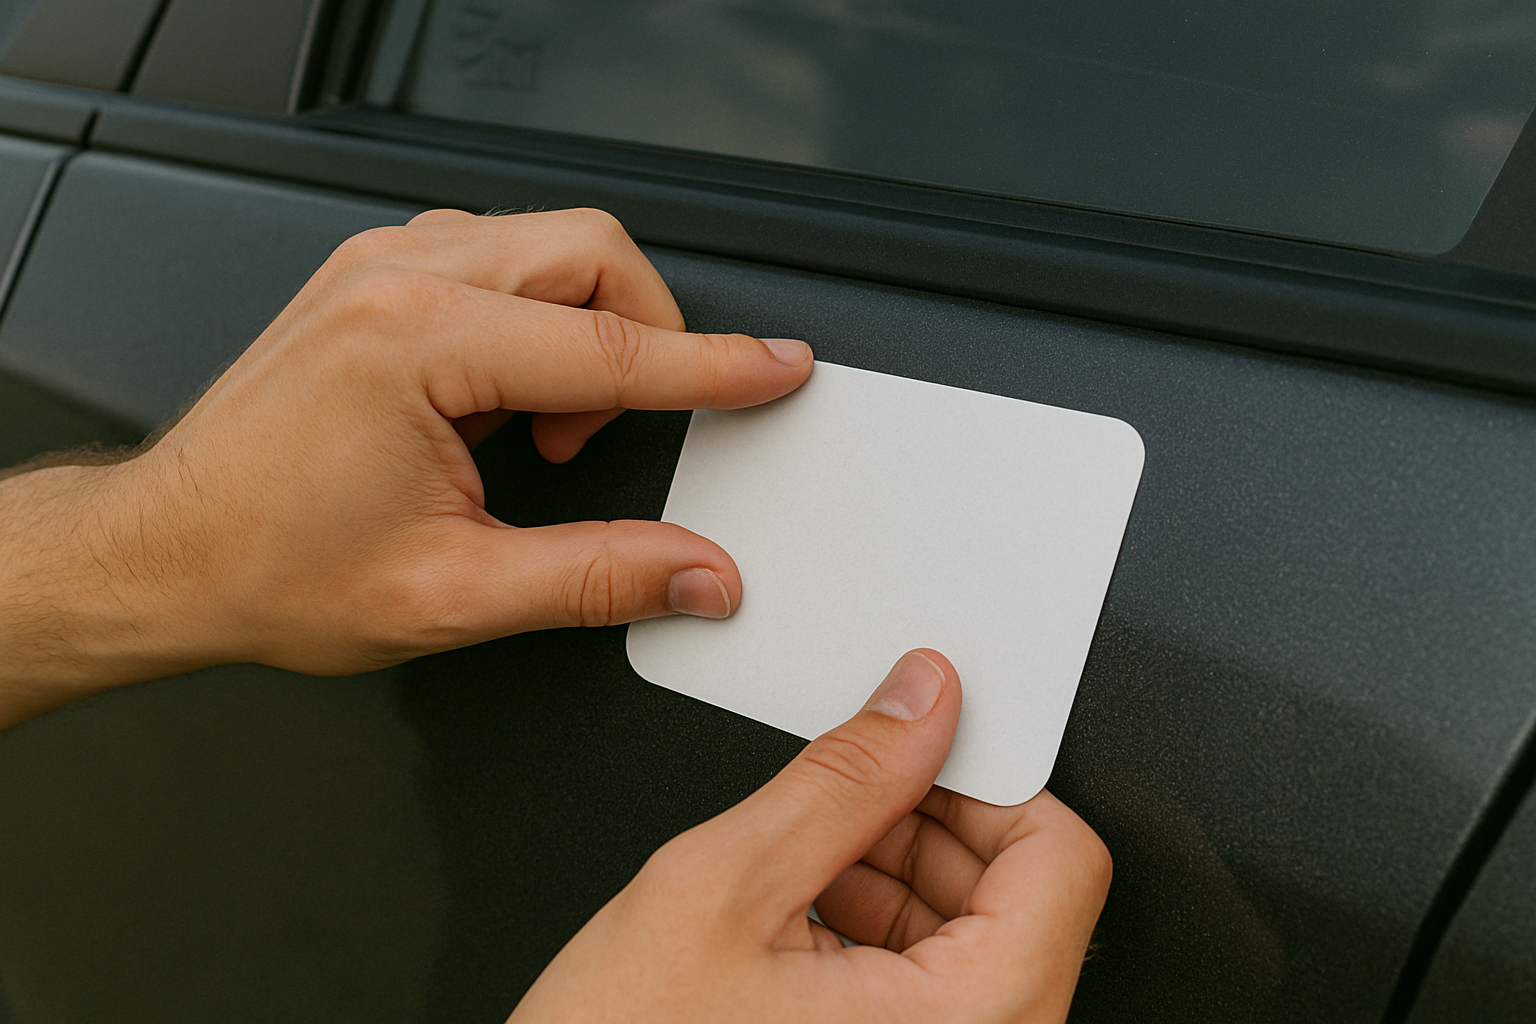
So, you've got your surface sorted, the sticker’s ready—but now it’s sitting wonky. And once it’s stuck, there’s no polite way of peeling it back without making a mess.
These are the usual slip-ups:
Skipping the dry-fit stage entirely.
Relying on eyeballing rather than actual alignment points.
Pressing down too early without checking edge symmetry.
Here’s how to avoid the lopsided look:
Dry-fit the sticker in place before you remove the backing. Hold it up to the spot and mark reference points with low-tack tape or a washable marker.
Use the hinge method. Tape along one edge of the sticker to create a pivot point—then peel and apply in stages.
Masking tape helps a lot. You can create alignment guides to frame the exact space you want.
Take your time. Adjustments are easier before anything touches down properly. Rushing this bit usually ends in regret, wrinkles, or do-overs.
Because nothing ruins a good design quite like it being slightly—but noticeably—off-centre.
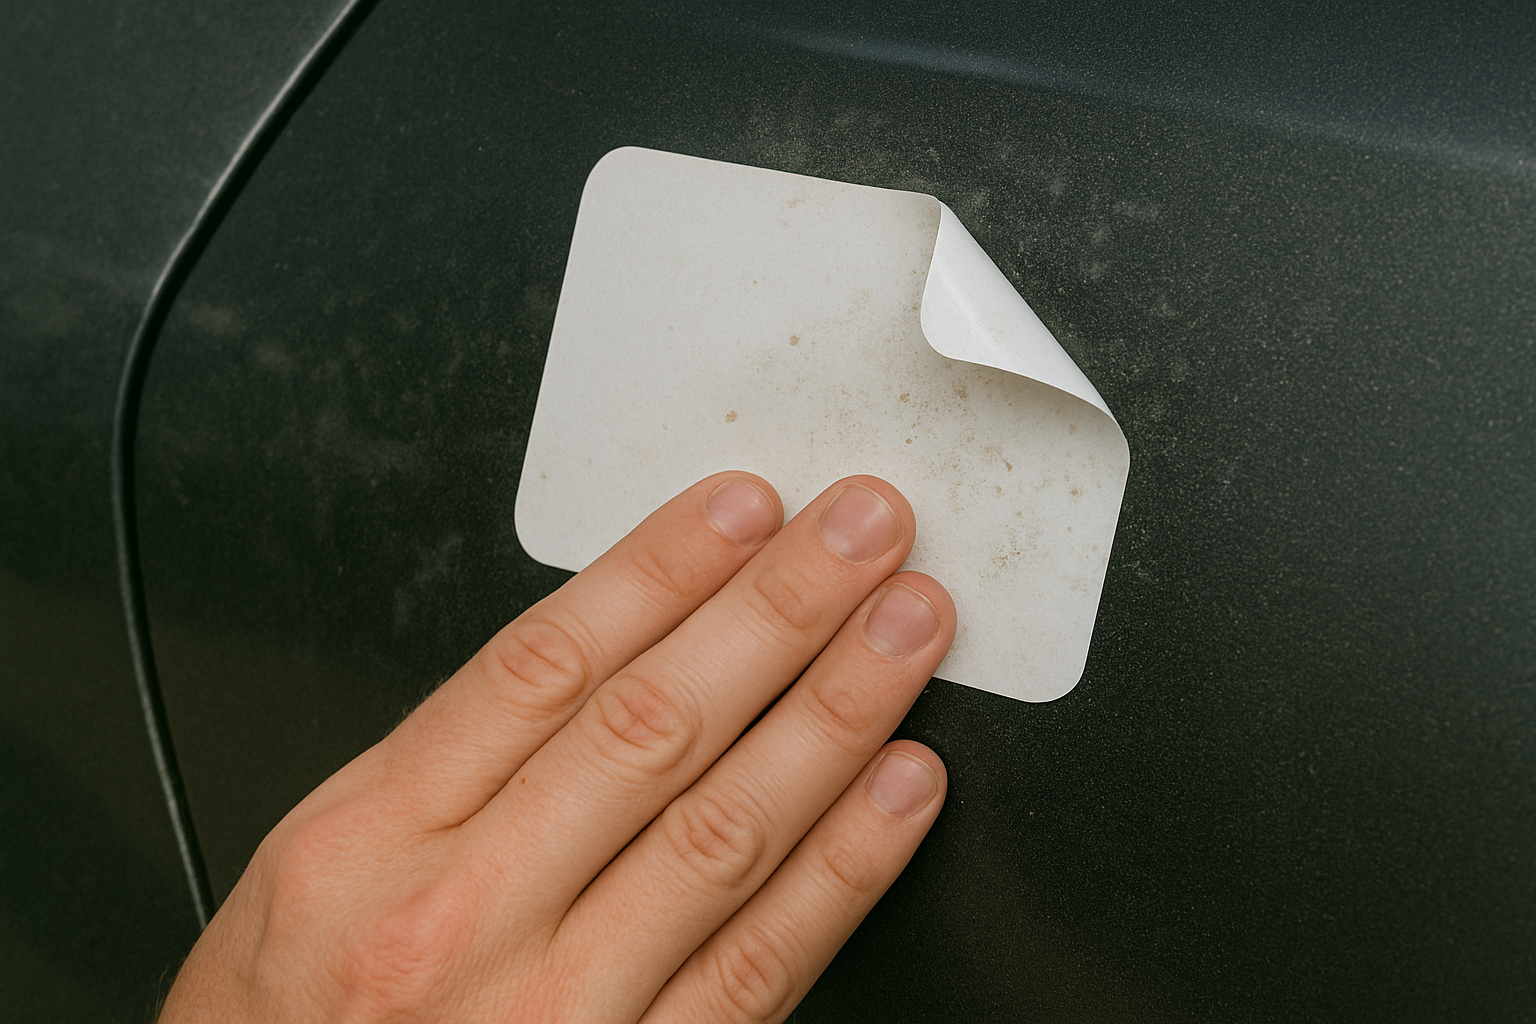
3. Air Bubbles Under the Sticker
You step back, admire your work, and then spot them. Tiny bubblesare lurking just under the surface. Some big, some small, all annoying.
Here’s what tends to cause them:
Dust or grit is trapped between the vinyl and the paintwork.
Applying too quickly or without pressure in the right places.
Skipping the right tools altogether and just using fingers.
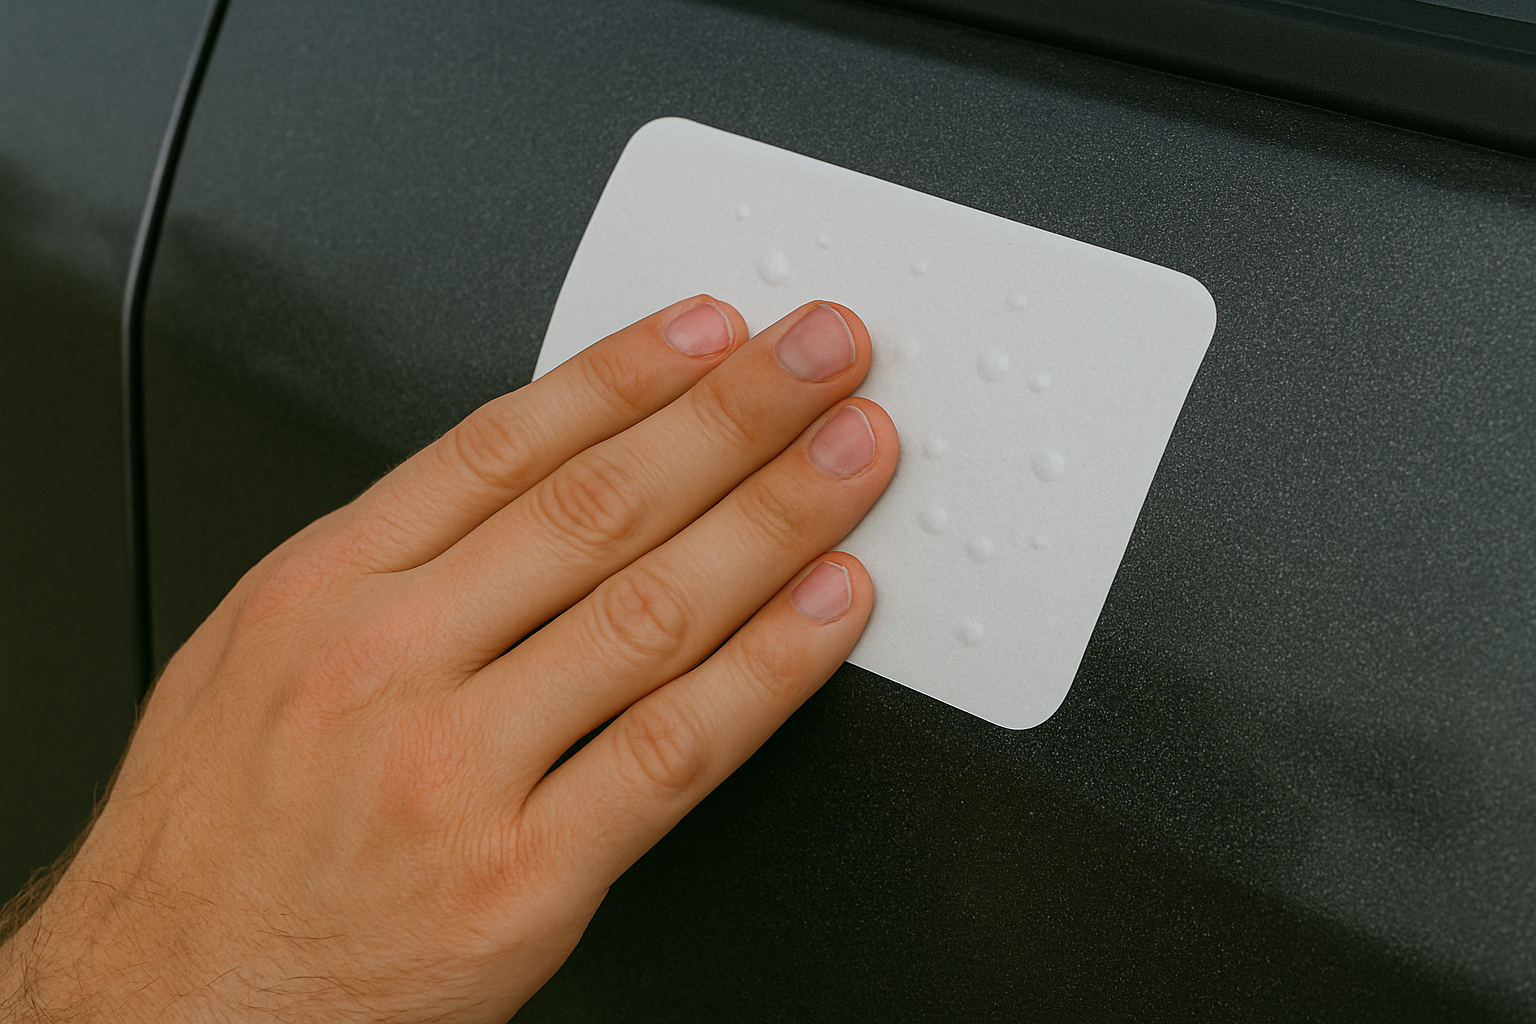
Want to avoid the bubble battle? Start slow. Use a squeegee or something like a credit card to apply steady, even pressure from the centre outward. Work in sections, not all at once. This pushes out air as you go.
And if they still show up? No stress. Grab a fine needle, puncture the bubble at one edge, and gently press the air out. It’s a simple fix, and if done carefully, won’t leave a trace.
For smoother results, it’s worth looking at proper fitting tools designed for vinyl graphics. They’re made to give you more control—and far fewer headaches.
4. Choosing the Wrong Sticker Type
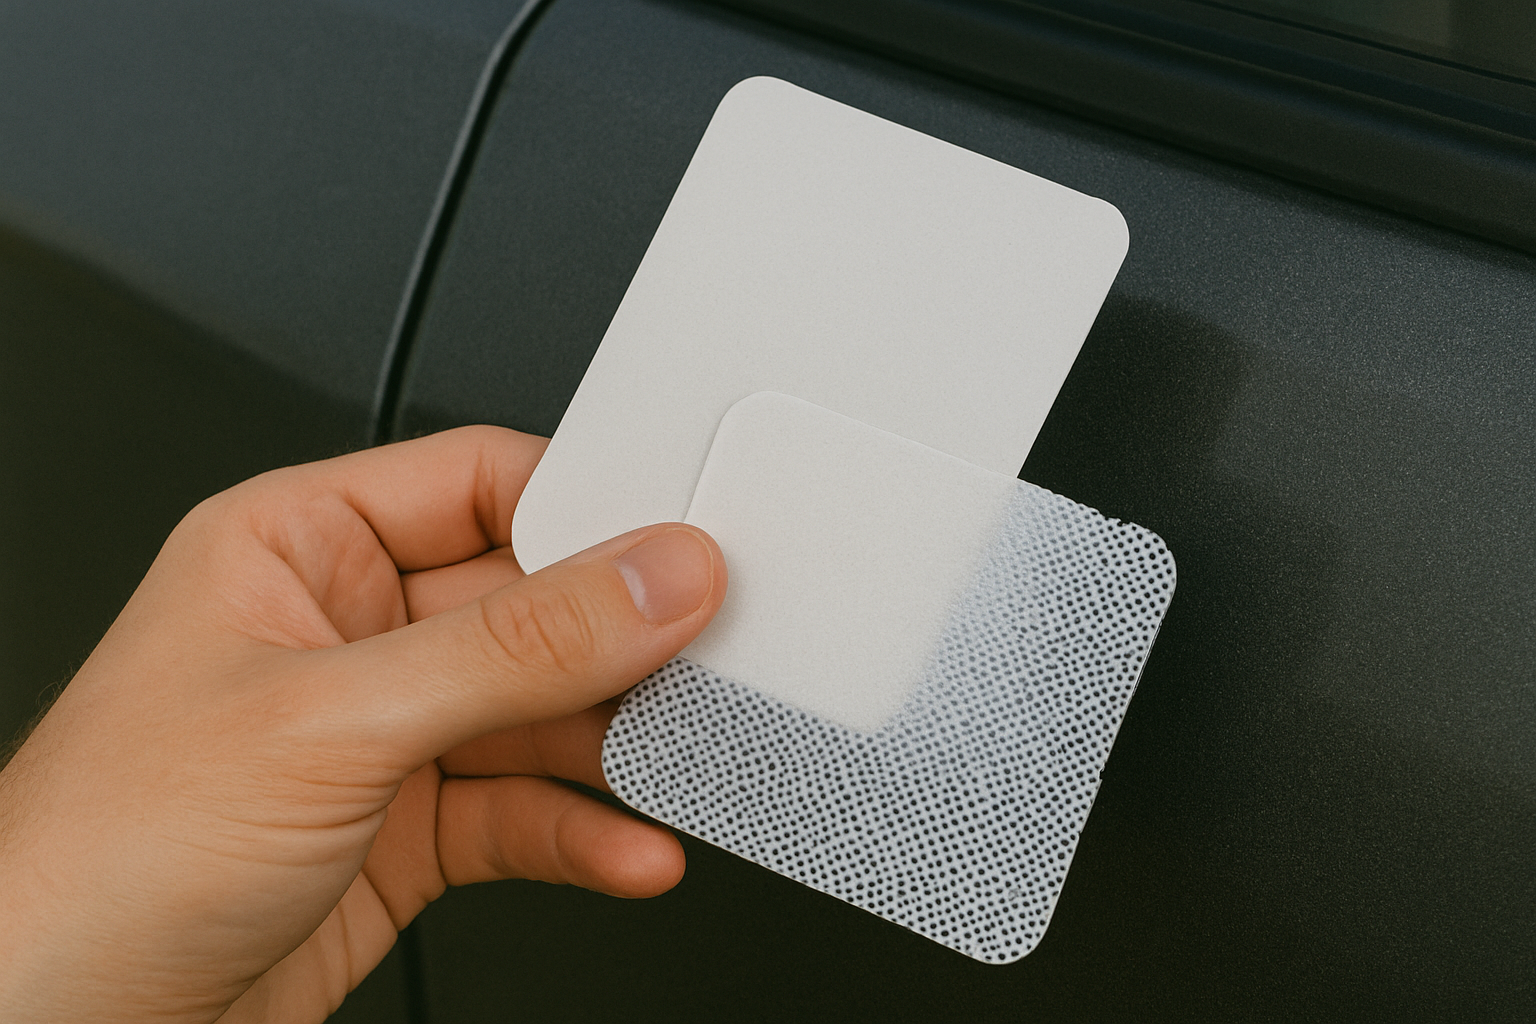
Not all stickers are made equal. And no, it’s not just about how they look—it’s how they behave on different surfaces that really matters.
Some finishes pop better on certain cars. A glossy sticker might shine on flat panels but glare awkwardly on curved ones. Matte designs give a softer finish but can fade faster if the vinyl’s not up to scratch. Then there’s the backing—clear backgrounds can be unforgiving if your paintwork isn’t flawless, while solid ones offer a bit more grace.
Vinyl type matters too. Smooth surfaces are pretty forgiving, but curved or textured areas need flexible, higher-grade vinyl to keep everything stuck and looking sharp. Use the wrong type and you’ll start seeing edges peel or bubbles form—not ideal.
This is where quality counts. Cheaper materials might save a bit upfront, but they’ll wear quicker, fade faster, and can be trickier to apply cleanly. If your sticker’s going to live outdoors (and most do), make sure it’s up to the job.
A good sticker isn’t just about style—it’s about staying put and looking good for longer.
5. Applying Stickers in Poor Weather Conditions
Weather plays a bigger part in sticker fails than most people think. It might feel like the right time, but your car and the vinyl might not agree.
Here’s what often messes things up:
It’s too cold: adhesives stiffen and don’t grip properly.
It’s too hot: the backing becomes overly tacky, making it tricky to adjust or position.
It’s humid or windy: moisture and dust sneak in just before the sticker hits the surface.
Aim for a temperature range between 10°C and 25°C. That’s where most vinyl adhesives perform best. Anything outside of that, and you’re risking poor bonding or sudden peeling after the first wash.
Windy days? Avoid them. You’ll be fighting the elements and probably misaligning everything in the process. And humidity, especially if your car’s been sitting out—can cause condensation, which the sticker won’t like at all.
Basically, let the weather work with you. A calm, dry, mid-temperature day makes the job easier, smoother, and far more likely to last.