
-1920x1080.png "https://www.demongraphics.co.uk/image/cache/catalog/Blog%20Main%20Images/Demon%20Graphics%20Blog%20Images%20(1)-1920x1080.png")
There’s something oddly satisfying about a well-placed car decal. It’s not just a sticker – it’s often a quiet nod to someone’s personality or pride in their motor.
But how are car decals made, exactly? It’s not as simple as printing and peeling – not if you want something that lasts. The whole process involves smart design work, thoughtful material choices, and a good bit of hands-on attention.
This guide breaks down the full journey of a car decal – from the first idea on screen to the final package landing at your door.
Designing the Decal
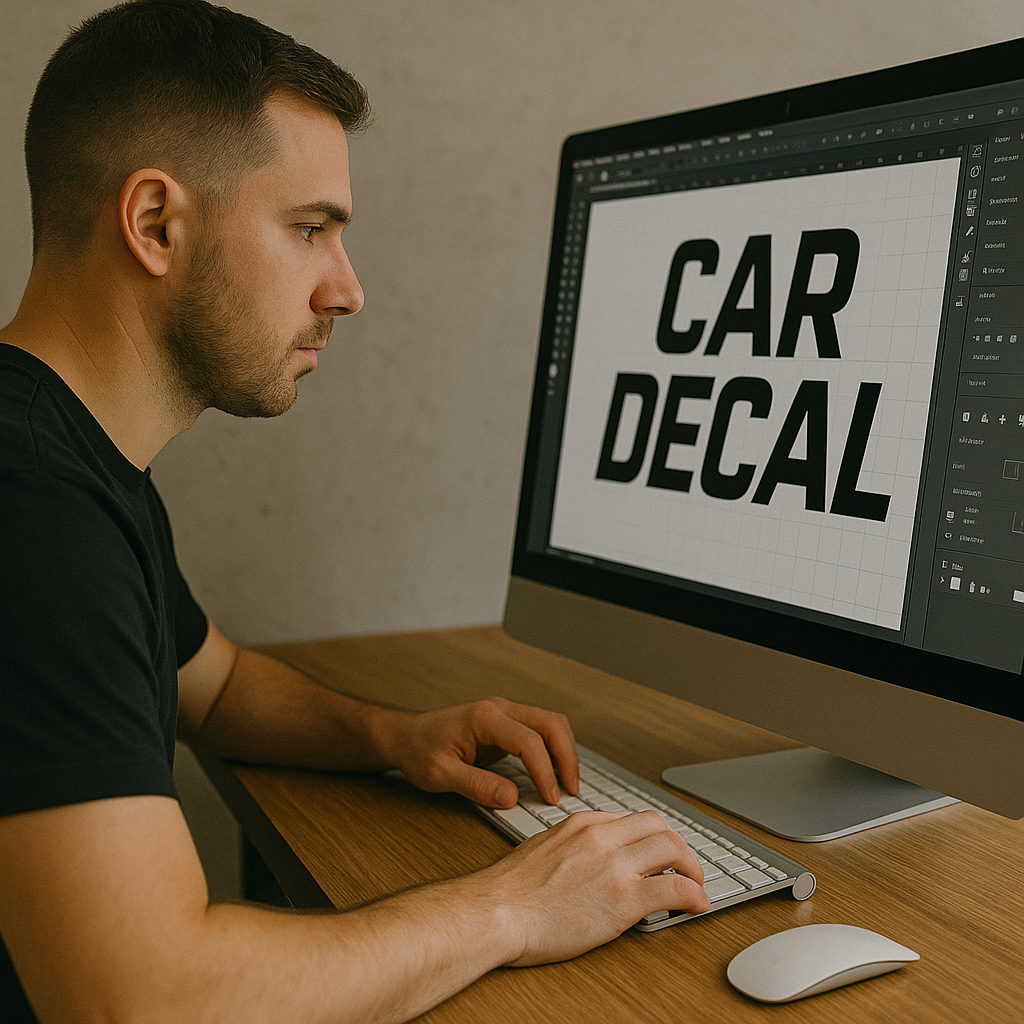
It starts with a customer brief or a bit of creative spark. Whether it’s a classic logo or full-colour graphic, the design takes shape using software like Adobe Illustrator or CorelDRAW.
Size and purpose come into play – is it for a bumper or a window? Those details shape the layout. Colour choices need to stand out but stay crisp.
Once the design’s locked in, it’s saved in a format the cutting machines can understand – usually a vector file like .SVG or .EPS.
Selecting the Right Material
Not all vinyl is created equal, and for car decals, that really does make a difference. Depending on the look you’re going for, designers might pick glossy, matte, or transparent vinyl – each one giving a slightly different finish once applied to a vehicle.
What usually tips the scales is where the decal’s going and how long it needs to last. If it’s facing sun, rain, or motorway grit, then something durable and weather-resistant is the obvious choice. Good quality vinyl tends to stick better, stretch less, and stay vibrant for much longer.
Some companies are starting to think about eco-friendlier options too – like sourcing recyclable backing paper or using vinyl with fewer harmful additives.
Printing the Design
Once the design’s ready and the vinyl’s sorted, it’s time to print. This bit usually calls for an eco-solvent or UV printer – the kind of machine that can handle high detail and tough materials without smudging or fading.
The ink needs to grip the vinyl properly, so colour matching gets dialled in first. Designers make sure each shade lands just right, especially if the decal’s going on a dark surface or needs crisp contrast.
Print resolution can’t be skimped on either – blurry lines and patchy colours just won’t cut it. A smooth finish, whether matte or gloss, depends on both the printer settings and the material underneath.
Cutting the Decal Shape
Once printed, the design moves straight to the cutter – usually a plotter machine. These are basically big, clever blades that follow the digital file like a roadmap, slicing along the edges with millimetre accuracy.
The software tells the plotter exactly where to go, whether it’s straight lines, tight curves, or intricate lettering. Getting this bit right means proper calibration – if the blade goes too deep, it cuts the backing; too shallow, and it misses sections entirely.
There are two main methods: die-cutting, which slices clean through both vinyl and backing, and kiss-cutting, which only trims the vinyl layer. Kiss-cutting is often used for sticker sheets – die-cutting gives you a decal that’s ready to peel and place.
Weeding Out Excess Vinyl
This stage might sound like gardening, but it’s a bit more delicate. “Weeding” means peeling away all the unwanted vinyl – the bits around the letters, inside shapes, or between lines.
Tools like weeding hooks or precision tweezers help pick out the tiniest bits, especially in detailed designs. It’s usually done by hand, which means it takes time and a good eye.
One small slip can pull the wrong piece off, so it’s a steady job. But once it’s done right, you’re left with clean edges, sharp lines, and a decal that’s actually starting to look like it’s meant for a car – not just a roll of plastic.
Applying Transfer Tape
This bit’s all about getting the decal from the vinyl sheet to the car in one clean go. Transfer tape acts like a temporary carrier – it sticks to the face of the decal, holding everything together until it’s ready to be applied.
It sounds simple, but lining it up takes care. The tape has to be laid flat – no creases, no bubbles – otherwise you’ll end up with problems during installation. A squeegee or roller usually helps smooth it down evenly.
Once it’s in place, the whole decal can be peeled off in one go, ready to be stuck on the car exactly where it’s wanted. It’s the bit that makes the application actually doable without tearing your hair out.
Packing and Shipping the Decal
Once the decal’s finished and taped up, it gets packed for delivery – and that means protecting it from bends, dust, or moisture. Most go into rigid envelopes with cardboard inserts or flat boxes, depending on the size.
Some brands include a little guide with fitting tips or even a small squeegee to help with installation. Labels are added, and if it’s a custom order, it gets tracked from the minute it leaves the building.
Decals might look simple, but after all that effort, no one wants them turning up creased or cracked. Reliable shipping’s the final piece of the puzzle – it’s what keeps customers happy and confident in the quality.
So, how are car decals made? As you’ve seen, it’s not just press-and-go. Each decal goes through a carefully considered set of steps – from design and material choices to precision cutting, weeding, and packing.
It’s a mix of creativity and hands-on skill, with every detail making a difference to how the final decal looks and lasts.
For anyone thinking about getting a custom decal made, it helps to know the craft behind it. And if you’ve got an idea waiting to be turned into vinyl – well, now you know what goes into making it happen.